GitHub Pages 블로그에 댓글 기능 추가하기
2024. 10. 26. 16:14ㆍGitHub
반응형
포스팅의 내용
- 블로그에 댓글 기능 추가
댓글 기능 플러그인 선정
_config.yml 살펴보기
jekyll 설정 파일에는 3가지 옵션이 default 로 입력되어 있다.
comments:
  # Global switch for the post comment system. Keeping it empty means disabled.
  provider: # [disqus | utterances | giscus]
  # The provider options are as follows:
  disqus:
    shortname: # fill with the Disqus shortname. › https://help.disqus.com/en/articles/1717111-what-s-a-shortname
  # utterances settings › https://utteranc.es/
  utterances:
    repo: # <gh-username>/<repo>
    issue_term: # < url | pathname | title | ...>
  # Giscus options › https://giscus.app
  giscus:
    repo: # <gh-username>/<repo>
    repo_id:
    category:
    category_id:
    mapping: # optional, default to 'pathname'
    strict: # optional, default to '0'
    input_position: # optional, default to 'bottom'
    lang: # optional, default to the value of `site.lang`
    reactions_enabled: # optional, default to the value of `1`
disqus, utterances, giscus 가 그것이다.
disqus
- 소셜 로그인 또는 disqus 자체 로그인을 통해 댓글을 생성할 수 있다.
- 유료 plan 이 존재하고, 유료 버전을 사용해야만 광고를 지울 수 있다고 한다.

utterances
- github 계정을 통해 로그인 후 댓글을 생성할 수 있다.
- 무료이고, 광고 없다.
- 레포의 github-issue 를 통해 관리된다.
giscus
- utterances 와 마찬가지로 github 계정 사용, 무료, 광고 없음
- 레포의 github-discussion 을 통해 관리된다.

선정 - giscus
- Docs 가 번역이라도 한글로 되어 있다.
- 사용하고 있는 chirpy 테마 샘플 블로그에서도 사용하고 있다.
- 기본 시스템 테마를 따라가준다.
- utterances 와 비교했을 때, 업데이트가 활발하다. (utterances 의 최근 업데이트는 2년 전이다)
giscus 적용하기
github 설정
- 레포는 public 상태여야 한다.
- 블로그 레포의 Settings > General > Discussions 기능을 활성화한다.

giscus 설치
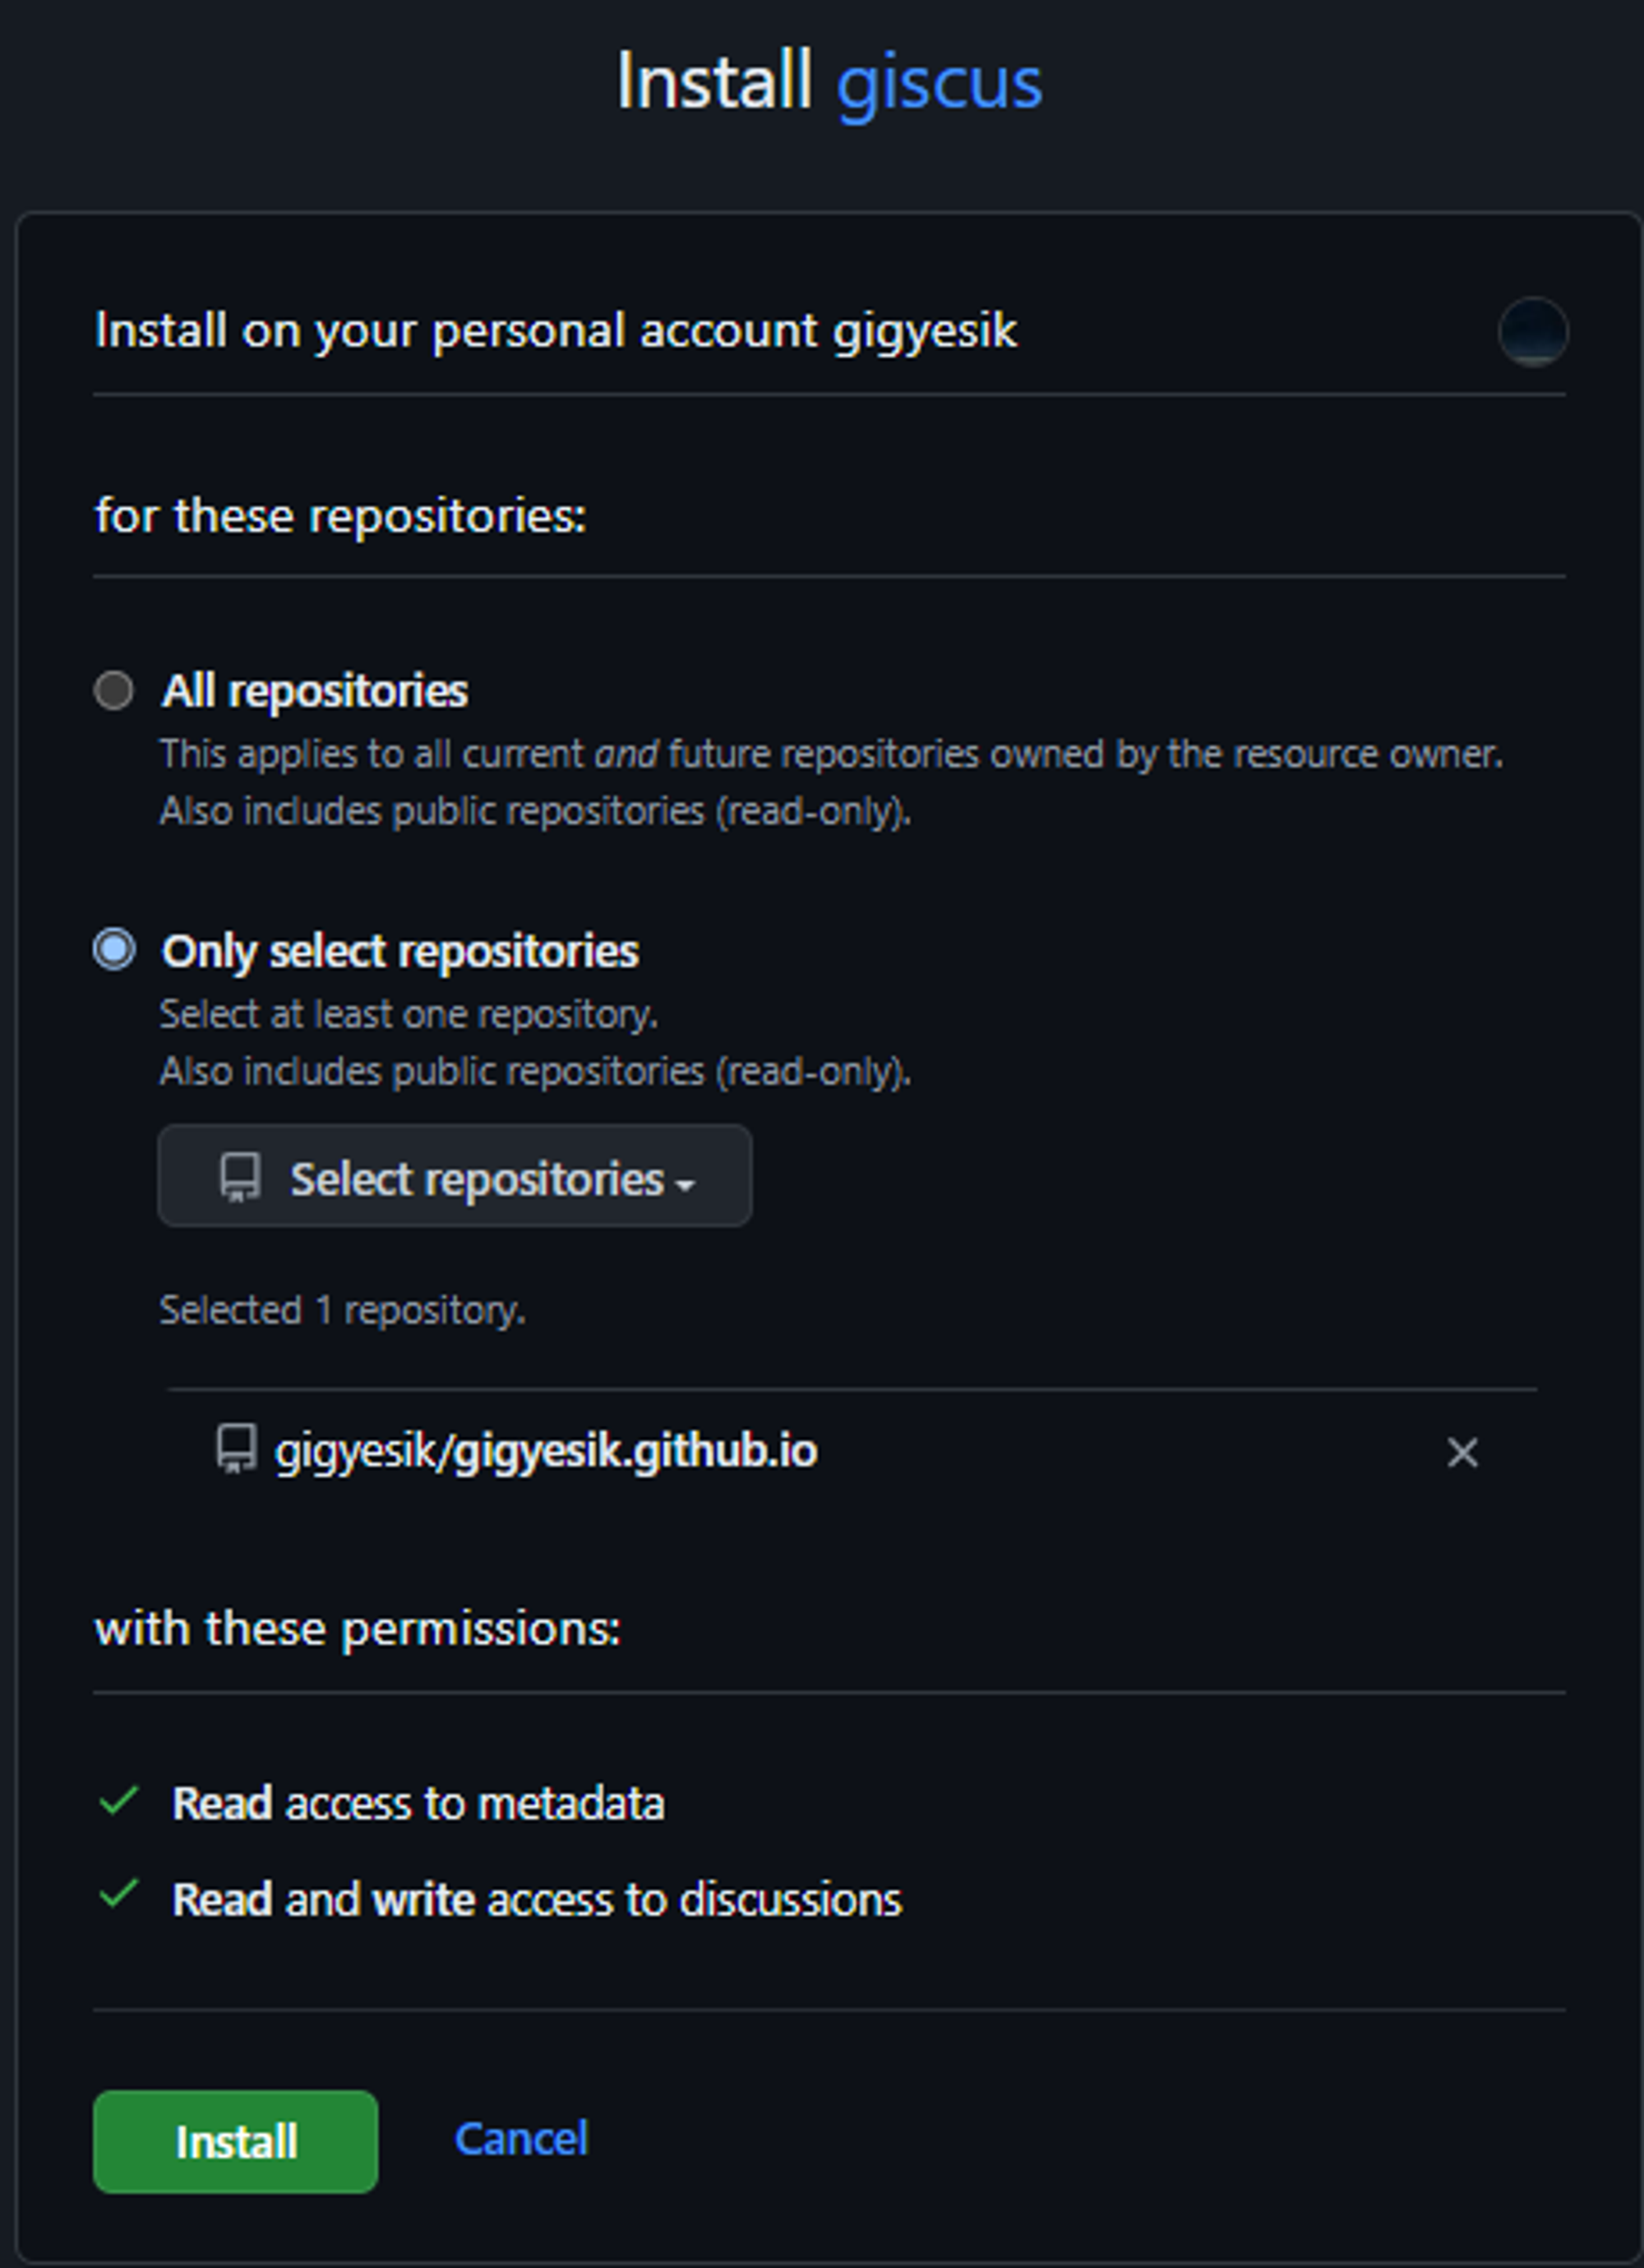
- giscus 앱 설치 페이지 에서 레포에 APP 을 다운로드한다.
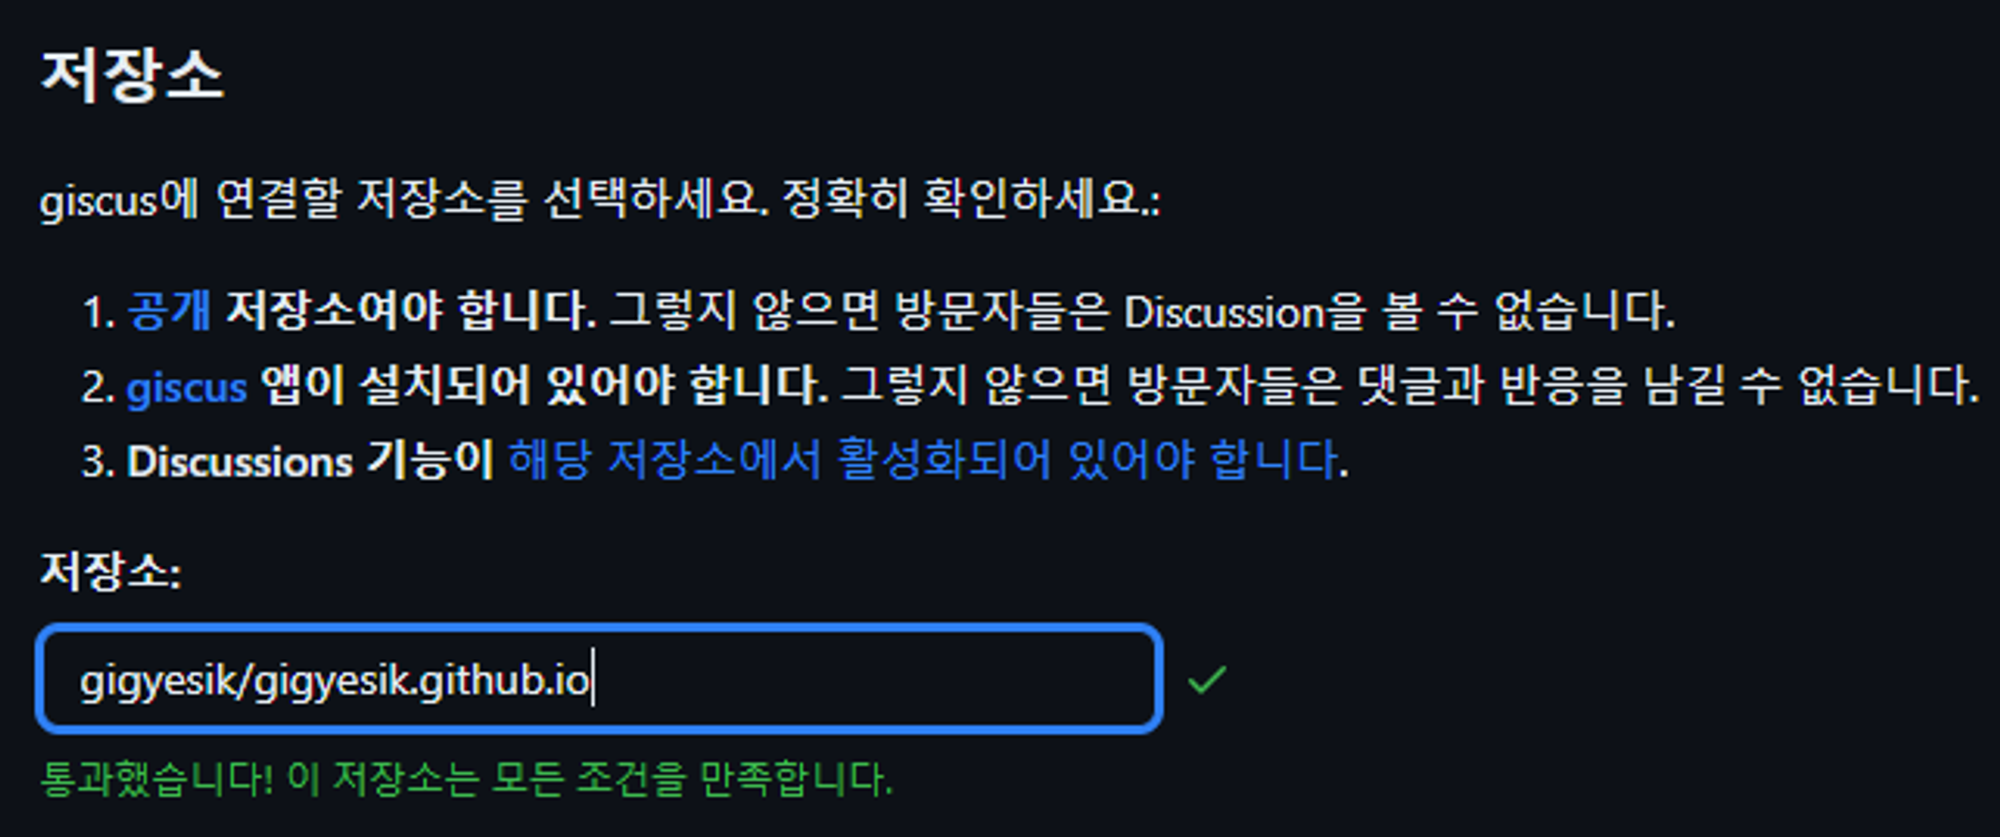
- 설치 후 giscus 홈페이지에서 {username}/{repository} 를 입력하면 성공 메시지를 받을 수 있다.

_config.yml 에 적용
- 설정 준비를 마치고 나면 giscus 홈페이지 하단에 아래와 같은 스크립트가 생성된다.
<script src="https://giscus.app/client.js"
        data-repo="gigyesik/gigyesik.github.io"
        data-repo-id="[ENTER REPO ID HERE]"
        data-category="Announcements"
        data-category-id="[ENTER CATEGORY ID HERE]"
        data-mapping="pathname"
        data-strict="0"
        data-reactions-enabled="1"
        data-emit-metadata="0"
        data-input-position="bottom"
        data-theme="dark_high_contrast"
        data-lang="ko"
        data-loading="lazy"
        crossorigin="anonymous"
        async>
</script>- 그대로 _config.yml 추가한다.
comments:
giscus:
repo: gigyesik/gigyesik.github.io # <gh-username>/<repo>
repo_id:
category: Announcements
category_id:
mapping: pathname # 옵션. 기본값 'pathname' (명시)
strict: # 옵션. 기본값 0
input_position: # 옵션. 기본값 'bottom'
lang: ko # 옵션. 기본값 'site.lang'
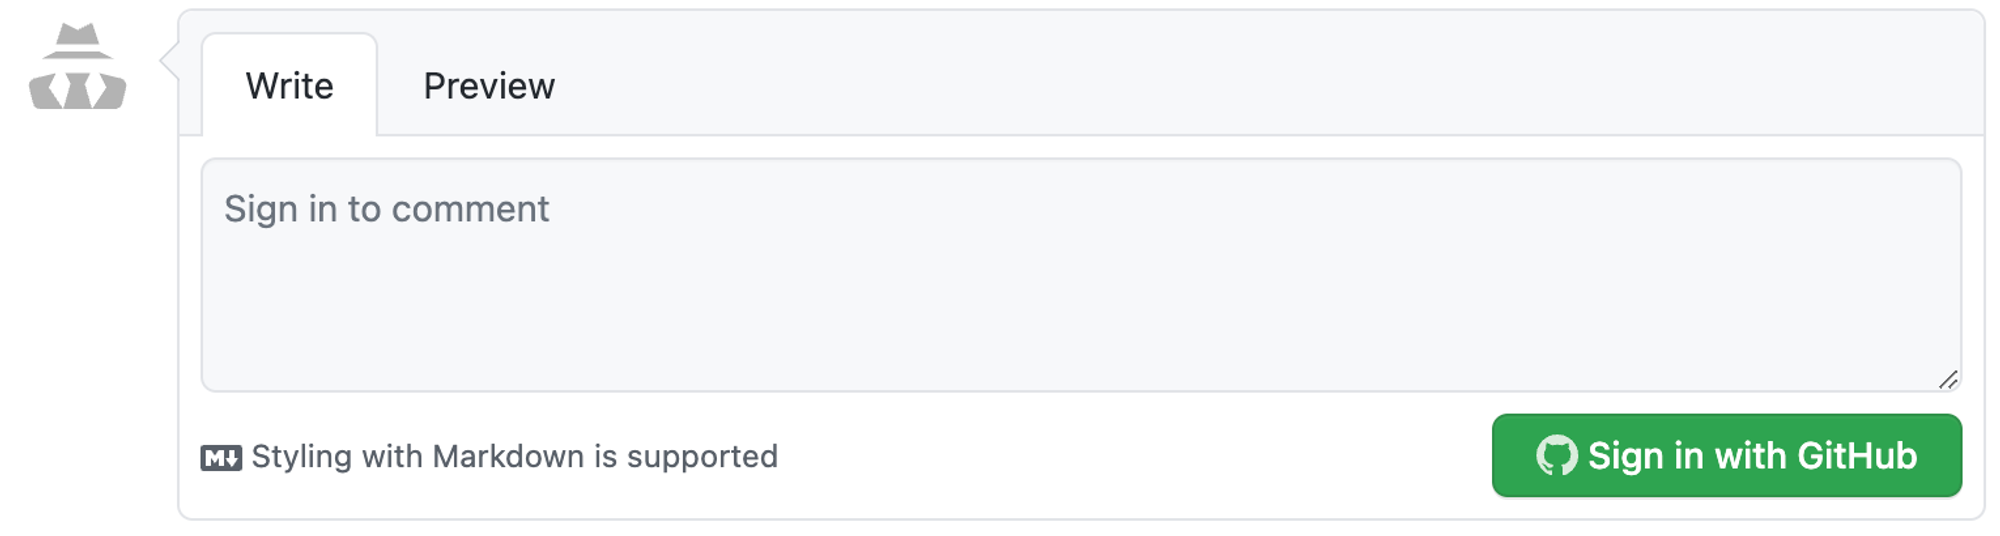
reactions_enabled: # 옵션. 기본값 1이후 배포하면 게시글 아래 giscus 댓글 폼이 생성된다.
Resources
반응형
'GitHub' 카테고리의 다른 글
| GitHub 프로필 아이콘으로 꾸미기 (0) | 2024.11.08 |
|---|---|
| GitHub Pages 블로그의 Favicon 변경하기 (6) | 2024.11.01 |
| GitHub Pages 블로그 _config.yml 설정 관리하기 (4) | 2024.10.25 |
| GitHub Pages 블로그에 글 작성하기 (5) | 2024.10.22 |
| GitHub Pages 블로그에 Jekyll Chirpy 테마 적용하기 (4) | 2024.10.17 |